the Leapyear Device
 I came to this instrument not from the granular side of things, but from the looping side of things. Granular techniques allowed me the most flexibility to manipulate sounds that I had found, way more interesting, to me, then vocoders or “simple” tape emulations. Through my looping experiments with feedback generation, I would build up these beautiful textures and would want this new texture to be the voice of the instrument, I wanted to change it’s pitch, quite simply, but it didn’t stay simple, because granular is a deep and dark hole to explore.
This deep darkness, for me, was due to the aforementioned parameter space that is inherent in granular, and many other synthesis techniques to be honest. None of the “off the shelf” solutions worked for me. They would either do too much or too little, and they would always not quite do what I wanted. Which is when I decided to try and roll my own.
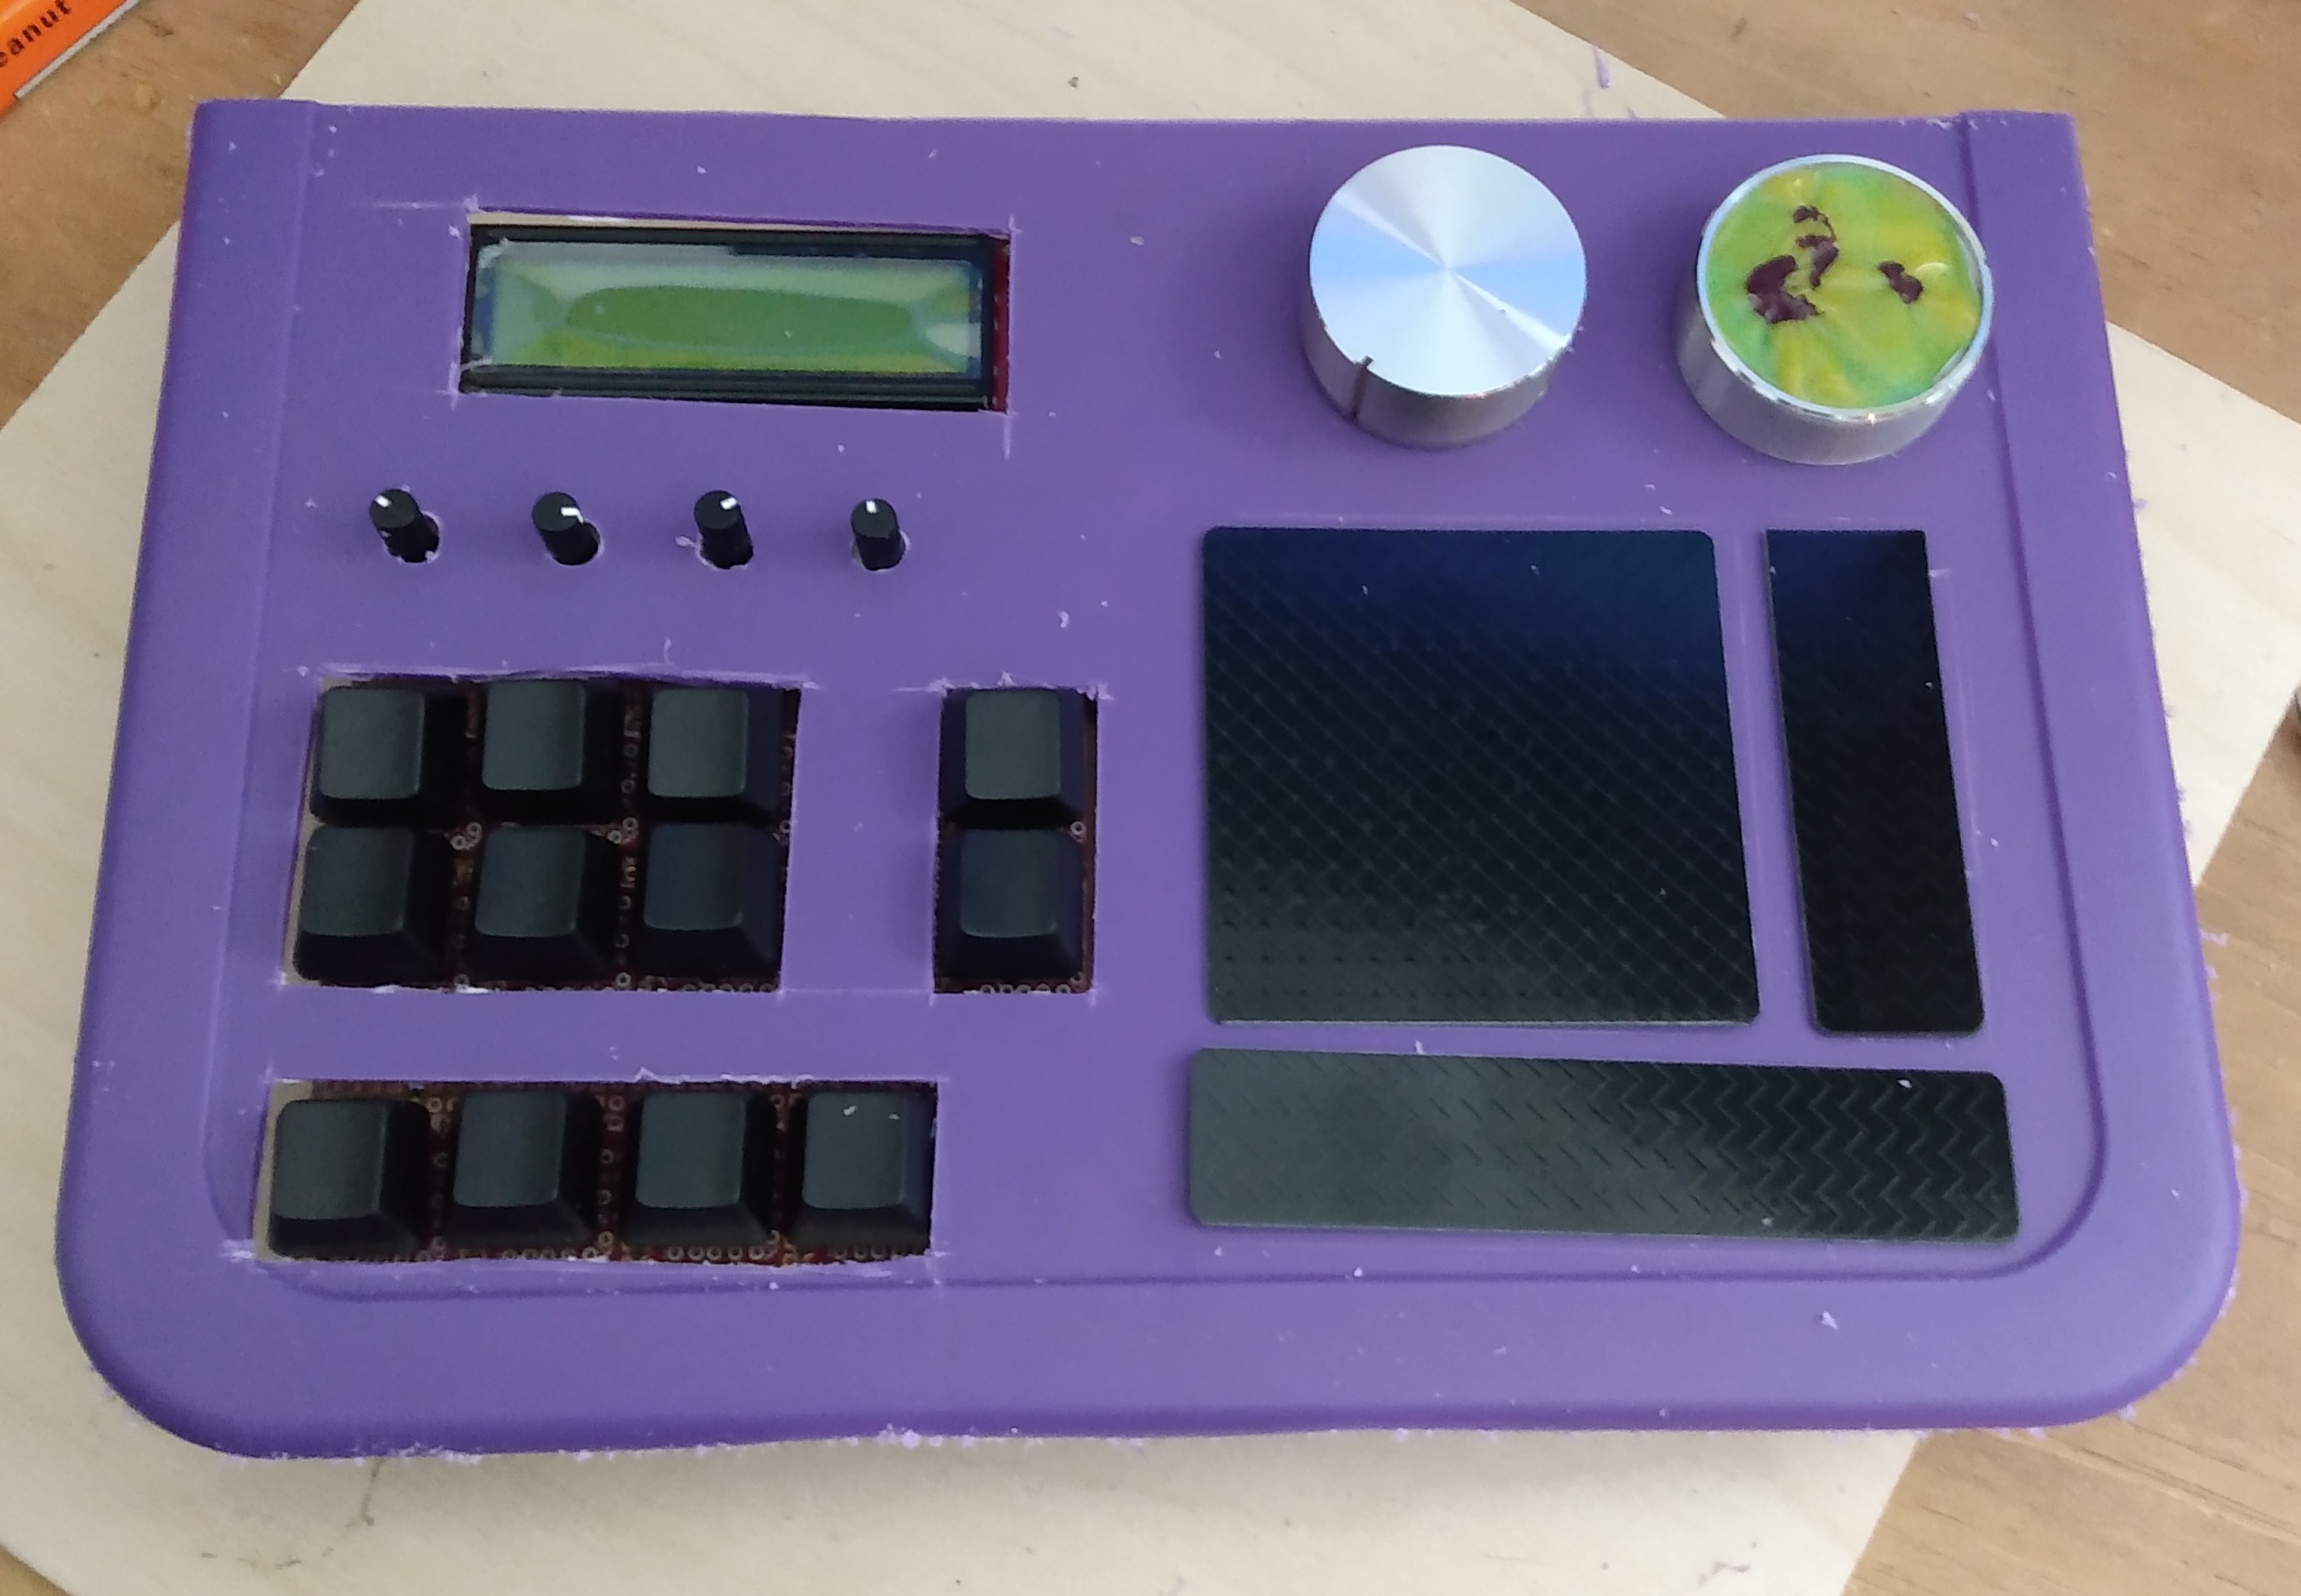
Perfection is the enemy of good. Which is something I can certainly relate to. I never strive for perfection, but sometimes, when things fly too far from the mark, it can feel a bit pointless. Building objects like this is certainly not my area of expertise, but it is one that I am fascinated by. Before this project I built a small collection of Lunetta synths, but they were often housed in found objects, cassette tape travel cases, project boxes and the like. So, my first iteration on the hardware for this device followed suit.
Preamble aside, what is the Leapyear Device, it is a three track looper/sampler, at it’s heart. Coded in Pure Data and built with a Bela sbc. Each track can record several minutes of material from a stereo input. Which gets summed to mono. The looping is asynchronous, because that’s how I like it. And you can bounce all of the tracks to a single track and/or do sound on sound layering, ad infinitum.
 This is built on a granular bedrock. Which offers all of the affordances one would expect. Playback speed decoupled from pitch. Individual panning and speed per grain, variable grain rates and lengths. Variable playhead position and loop lengths. Grain envelopes etc. Nothing particularly earth shattering, but all the things that I wanted, and in the way I wanted them.
Now for the magic, or what I find to be magical at least, how to access this parameter space.
What has always turned me off from a lot of hardware is that you either need a ton of knobs to access all of these parameters, and sacrifice space. Or you need a ton of menus to fit all the features you want access to. Thankfully I found a third way to deal with it, which is, what I call, the Binary Input Interface.
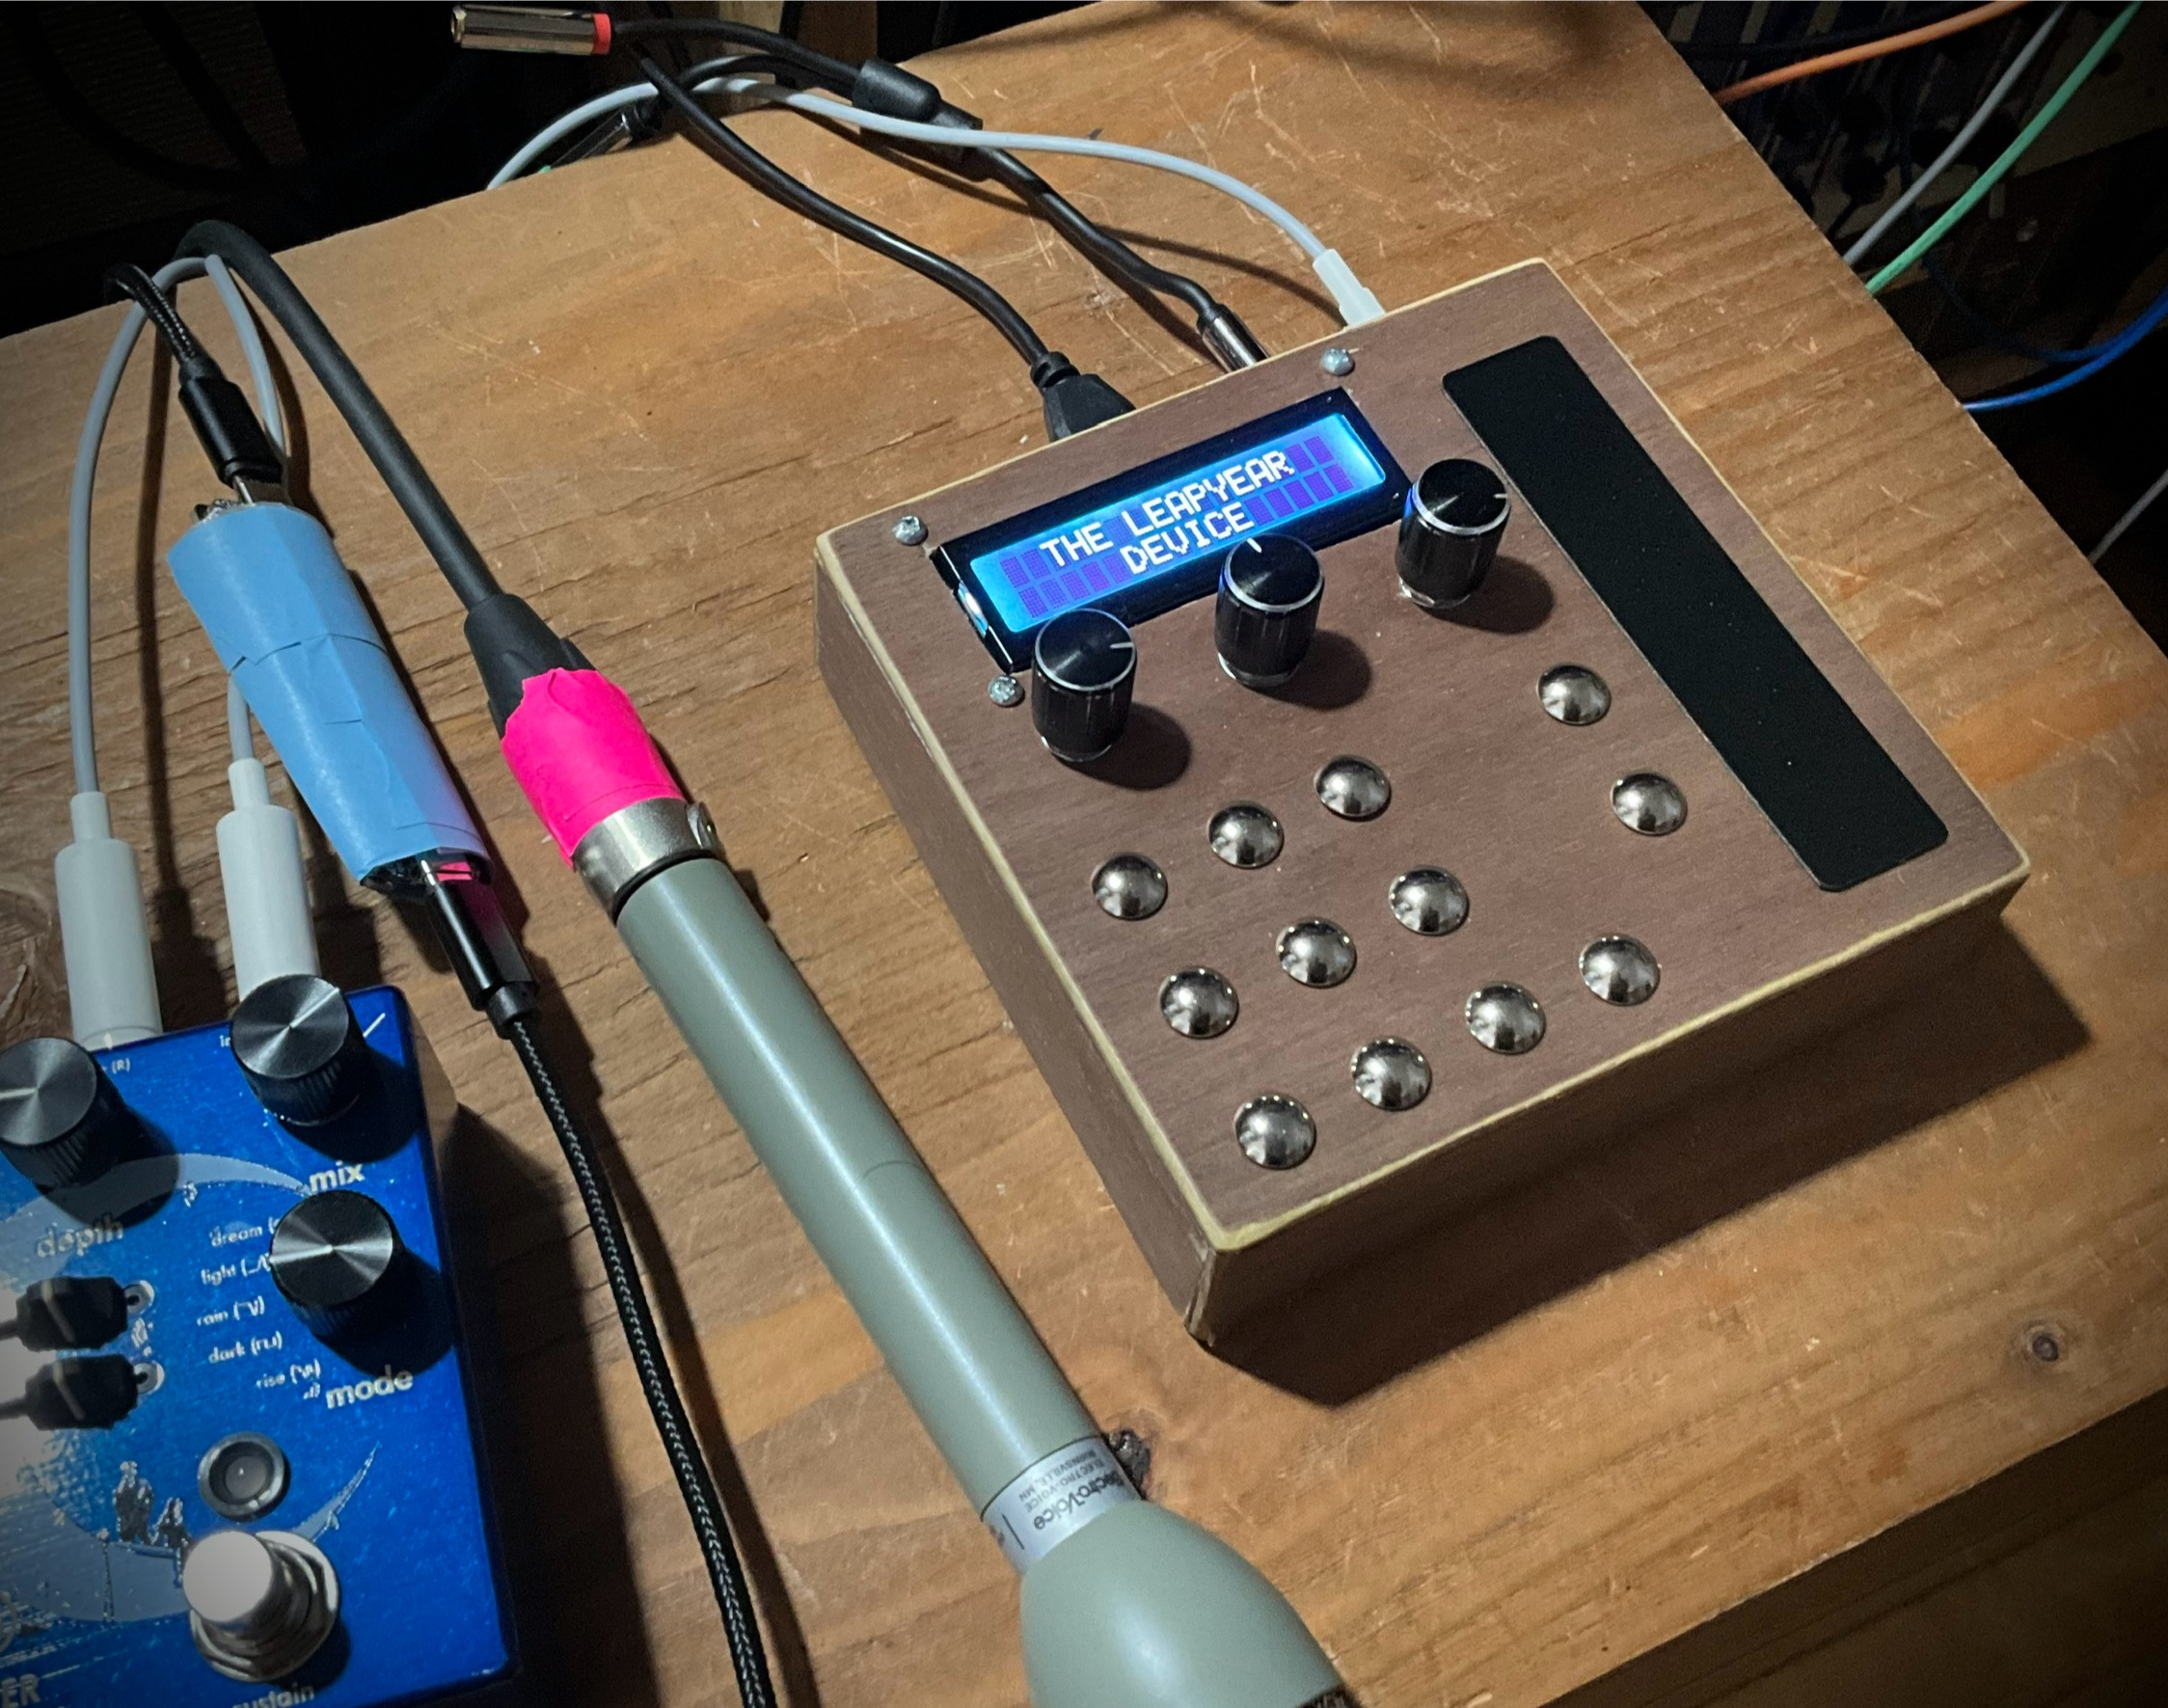
 The three knobs you see are simply knobs, that control the volume of the sampled recording. As you would expect on a mixer. The touch pads and the touch bar, which is a Trill bar, are a combined interface that allow direct access to every single parameter available in this system. No menu diving, and the device is about the size of a Norns.
The Binary Input interface works by selecting some combination of touch pads from the collection of 6 points to the left, in conjunction with one of the bottom four points. This will select a parameter and the track that parameter is applied to. The three recorded tracks and then the fourth touch pad is for the live input. You then enter a value on the touchbar, et voila. The other two touch points are for rec and play function, as well as a few other modifiers and selections.
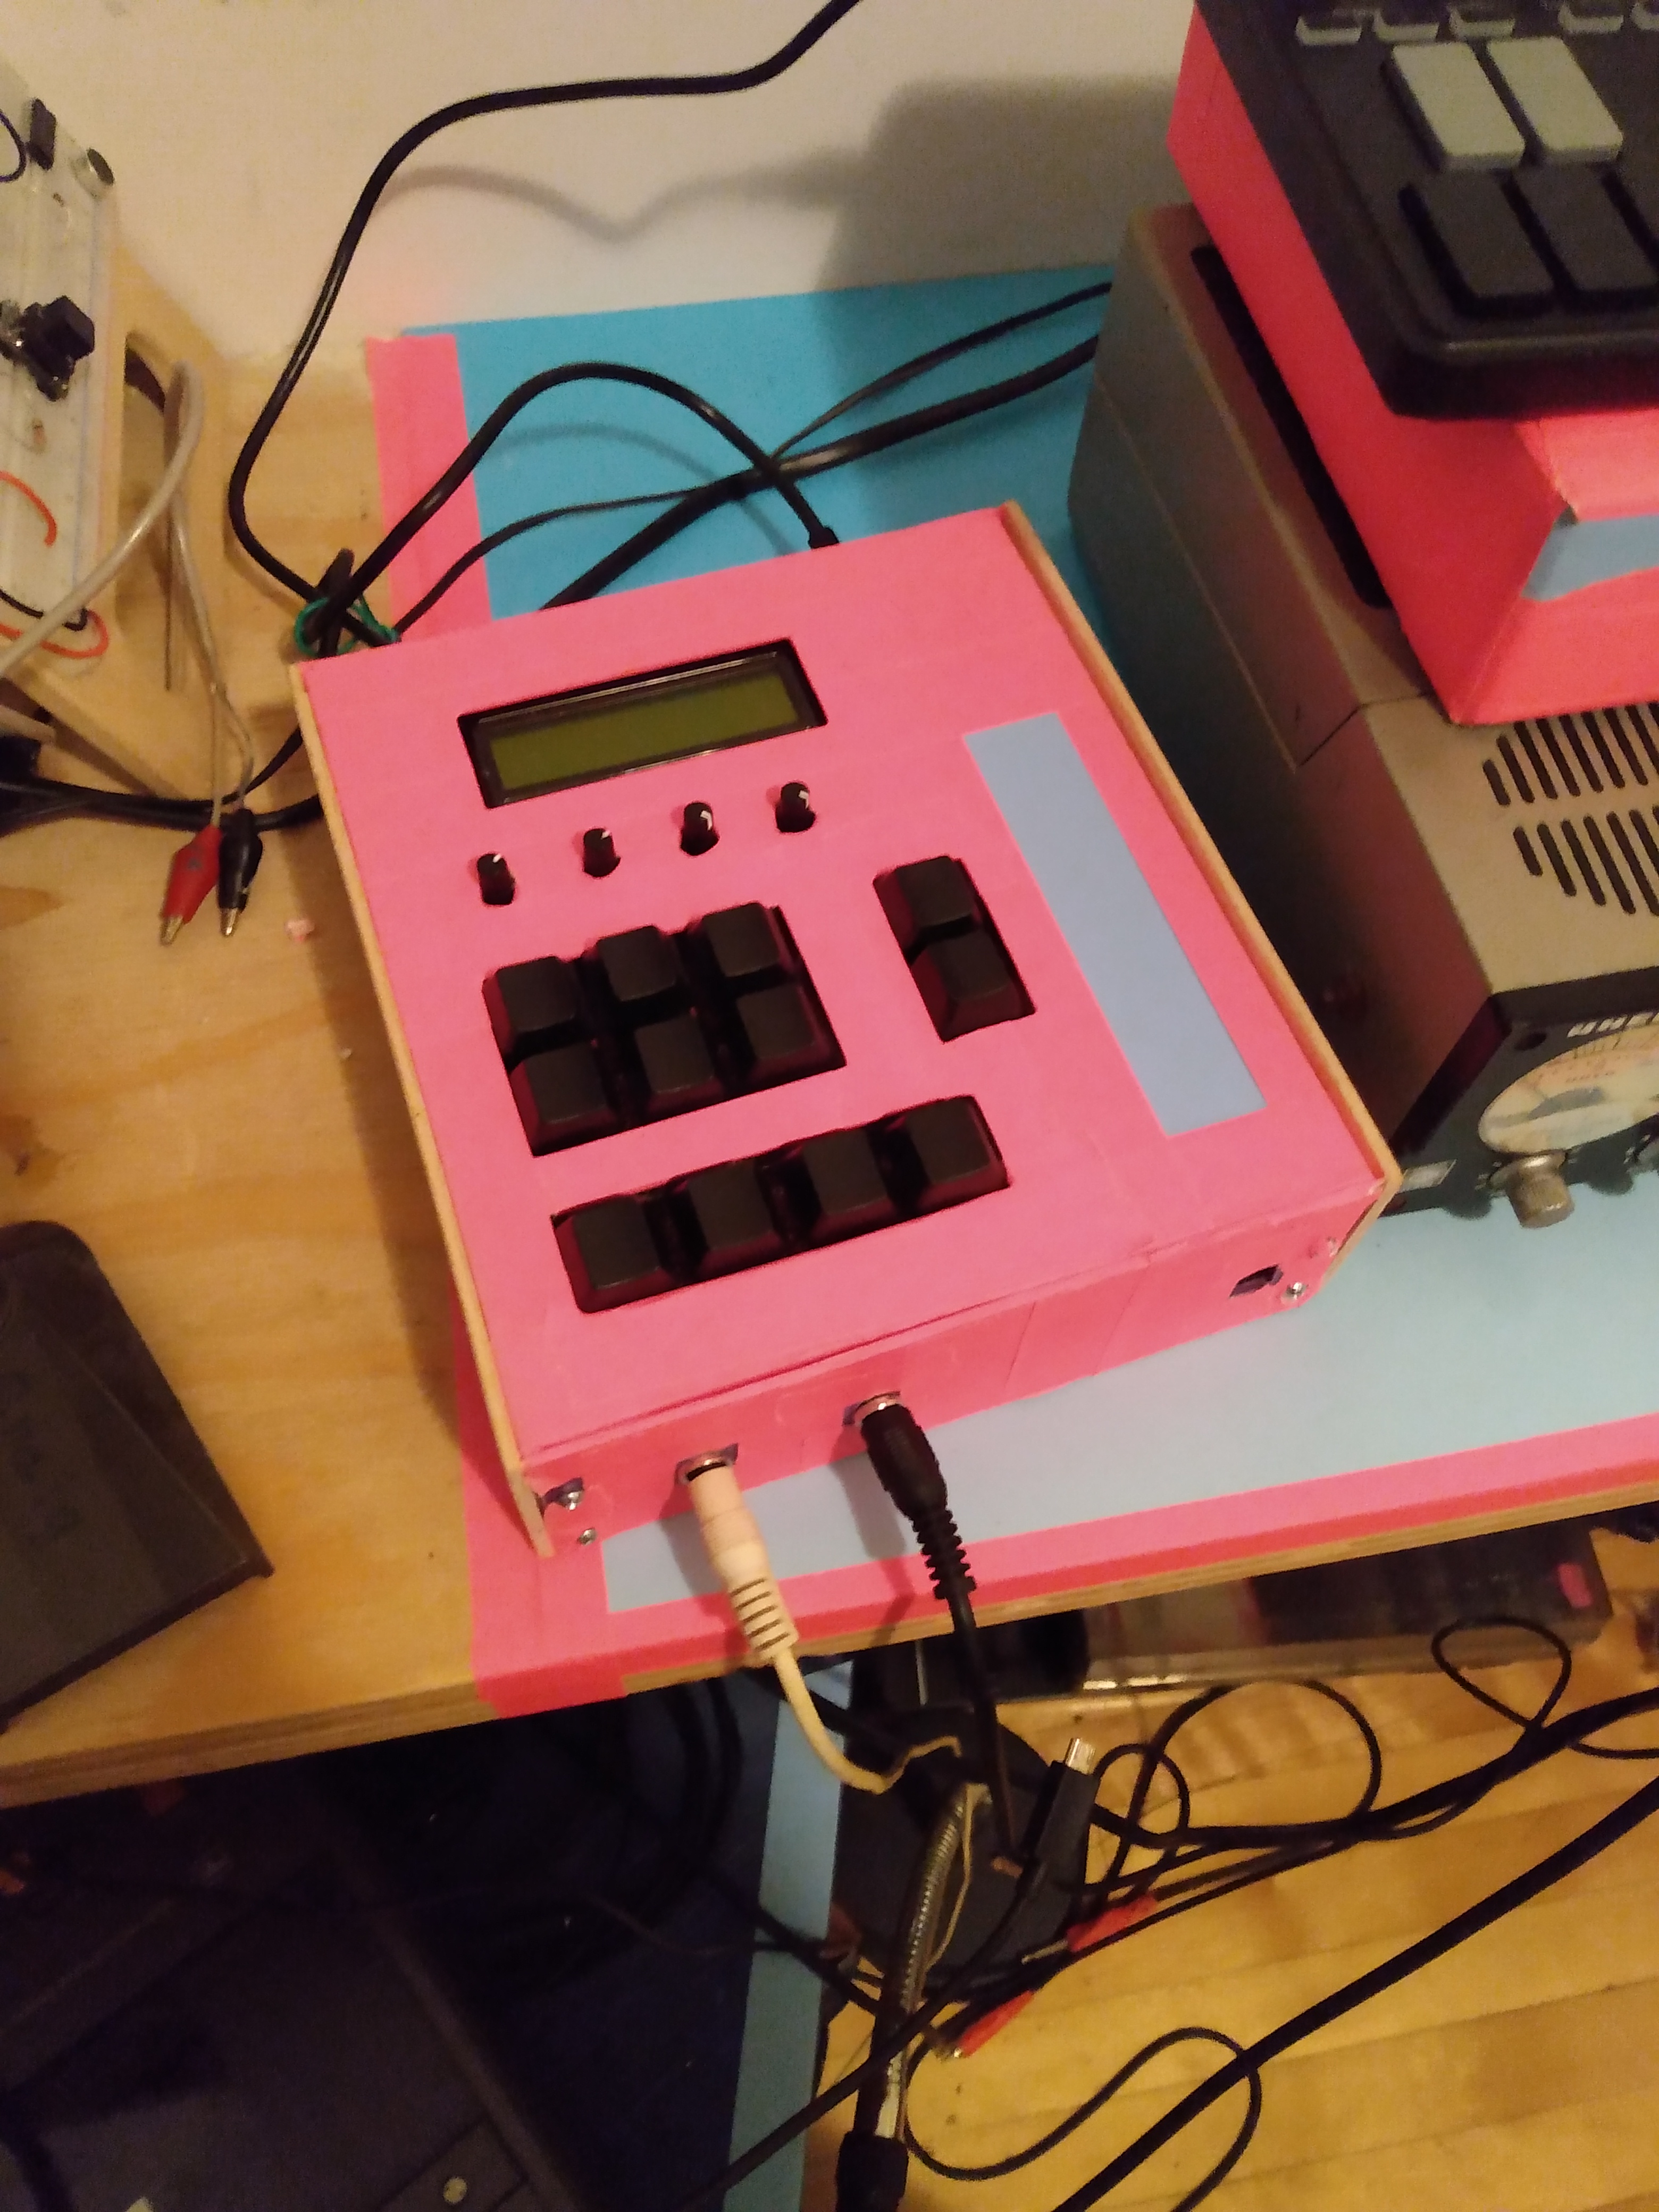
At this point I had finished the above pictured prototype, wrapped in pink painters tape. It was functional, but there were several things I didn't care for regarding the object design. It was too big, for one. The mechanical keys were too loud, for a sampler, silence is better. All of my samples were starting and ending with clicky sounds. And it had cables plugging in the front and the back, which increased the amount of space it needed on a table.
I went back to the drawing board, and sketched up a tighter design. After sourcing new parts and learning more about capacitance touch keyboards, I switched out the mechanical keyboard keys with simple brass upholstery tacks. I found a simple USB to USB connector that would allow the Bela to be placed anywhere in the case, and let me use two USB-A cables to interface with the machine. I put all of the cable connections at the back of the device and was able to reduce the size to that of a mid size guitar pedal.